Thrift Store Find: Gumball Machine Makeover
Finding ways to give new life to items I find at the thrift store is one of my favorite things to do. From half-empty bottles of lotion to vintage furniture ... You never know what you’ll find while thrifting and that’s what makes it so much fun.
Every once in a while I set out into the world in hopes of finding my next thrift store makeover.
So, on this particular day, I was roaming the aisles of the thrift store– not having much luck– when I stumbled across an M&M dispenser.
Honestly, I was surprised to find this unclaimed. Maybe it was just put on the shelf, but it definitely felt like something a thrifter would have quickly scooped up– especially since it was in amazing condition. So, even though I had no idea what I was going to do with it yet… I knew I had to grab it.
Disclosure: Some links below are affiliate links. This means that, at zero cost to you, I will earn a commission if you click the link and finalize a purchase
Time to start the candy dispenser customization process!
To get the customization process started, I simply started taking the thing apart. That only required loosening a screw at the top of the candy dispenser and a bolt at the bottom. From there, the whole thing pulled apart very easily– though I was a bit worried I wouldn't remember how to put it back together again!
Even though this thrift store candy dispenser called for very little restoration work, the first thing I needed to do was remove the m&m’s logo. If I couldn’t remove the logo, the whole project would be a no-go.
I tried a few methods including acetone and goo gone, but they were not remotely successful. A quick google search suggested vinegar and that definitely did the trick.
So, how do you remove the graphics from a candy dispenser?
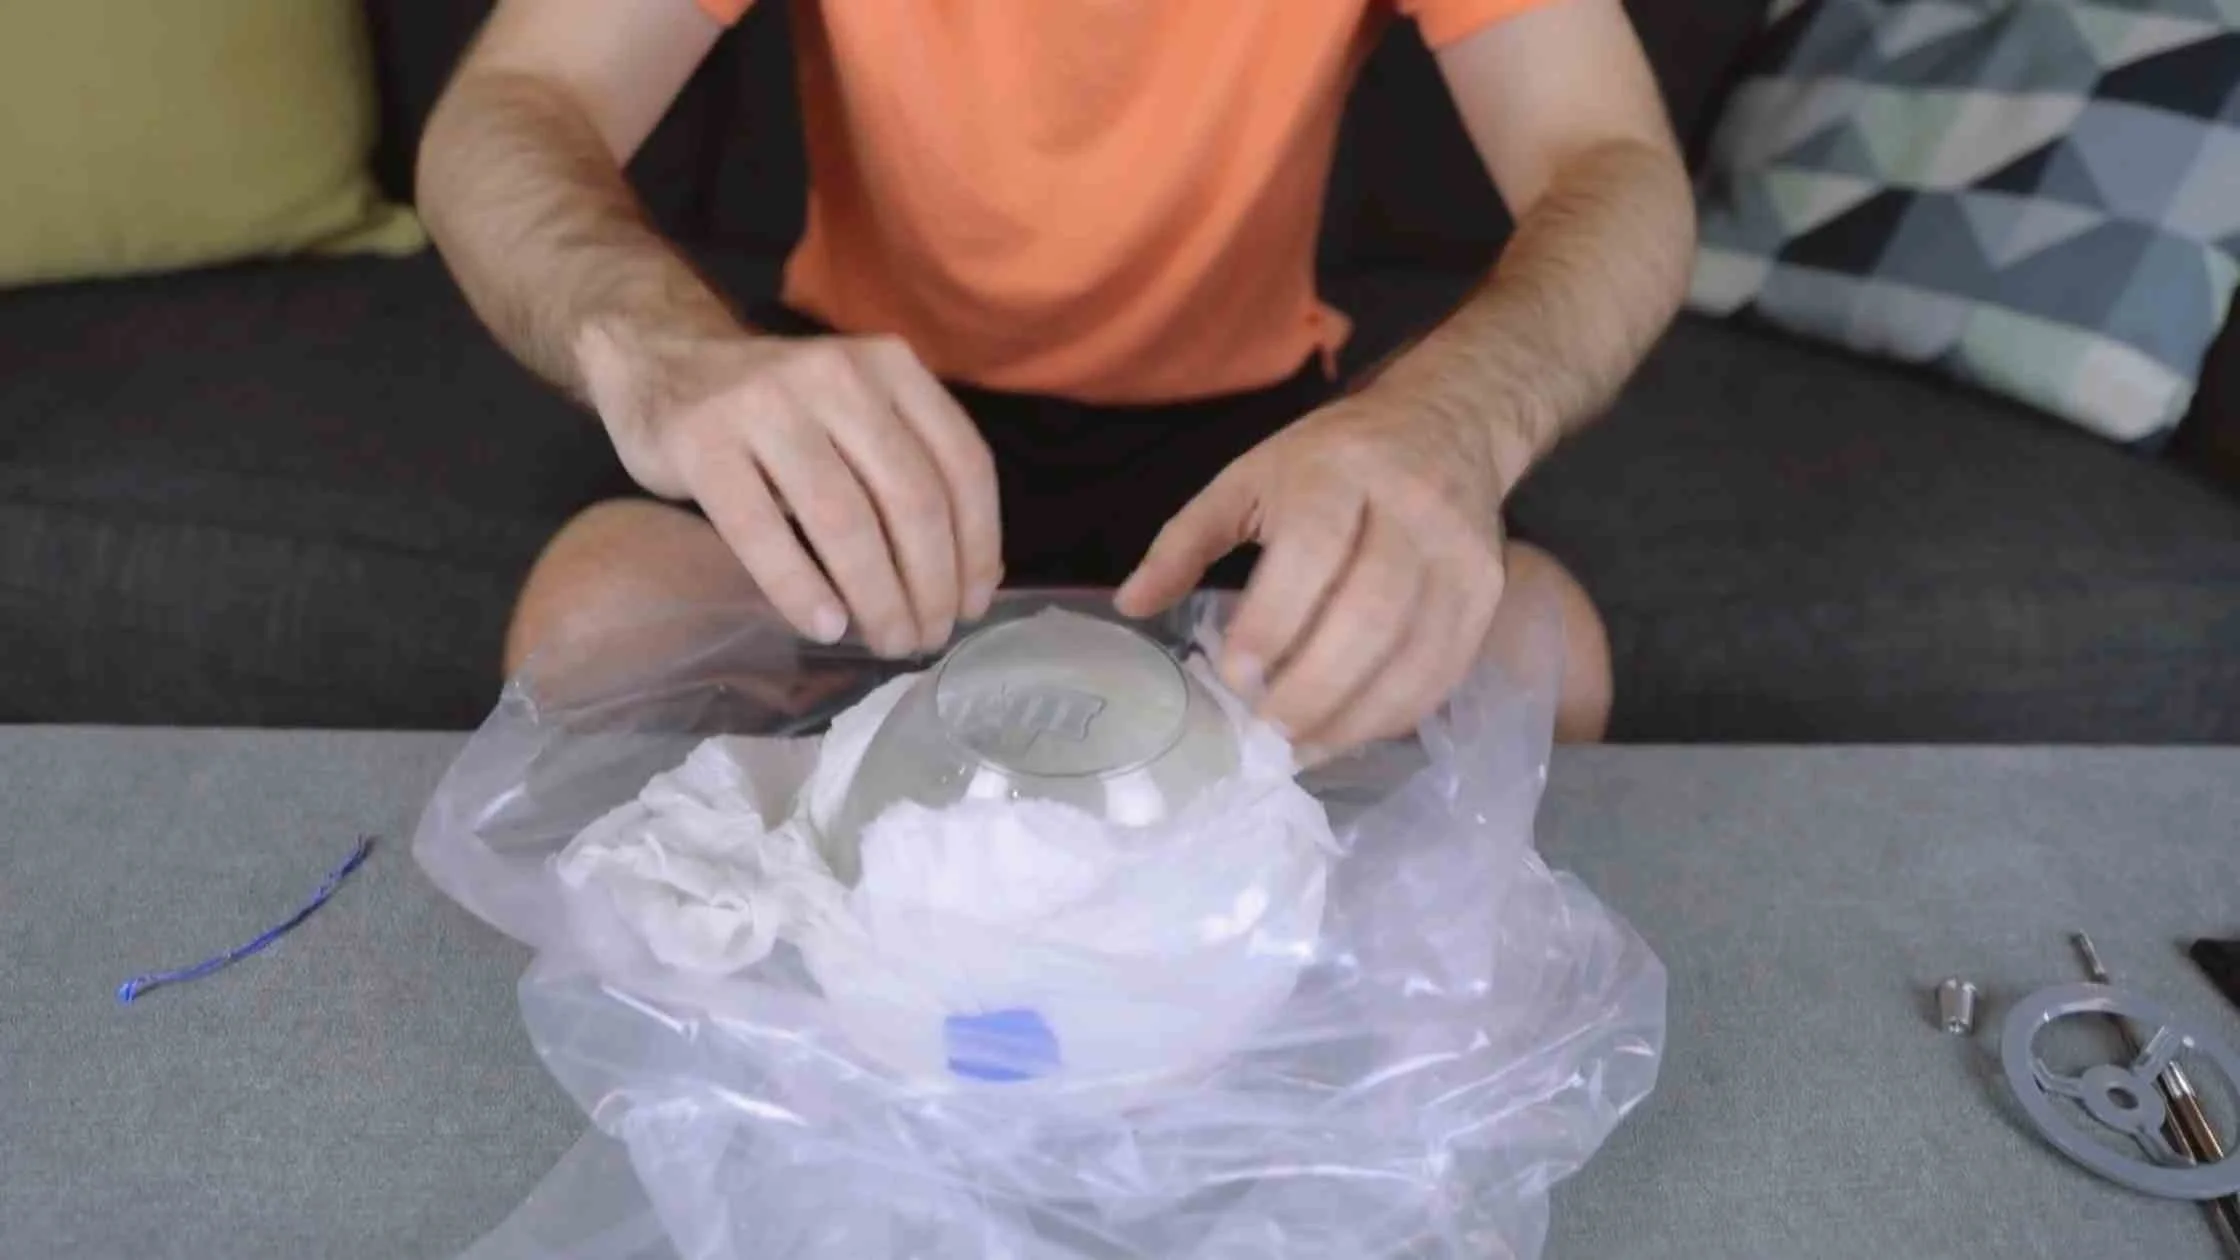
I wrapped the glass globe of the candy dispenser in paper towels drenched in vinegar and placed it in a sealed bag. I let it sit overnight and by the next day, the vinegar had worked its magic.
Much of the logo was already peeling away on its own and rubbing with some non-abrasive steel wool took care of the rest.
By this point, a little inspiration had already hit me and I knew I wanted to paint an octopus on the candy dispenser. So, it was time to prepare the base.
For this project, I did not strip the existing paint. Instead, I opted to just spray the whole thing with some Rust-Oleum Universal Bonding Primer to start. All was well until I went outside to check on it a bit later and it was cracking!
Welcome to spray painting in Florida! The high heat and humidity dried the paint before it even adhered to the surface, hence… the cracking. So, after sanding the cracks down and re-priming, it was finally time to spray paint the base of the gumball machine.
I ended up using the same Montana water-based spray paints I used on my previous custom car project. This time I chose variations of blue and aqua to create an ombre effect that would give off ocean vibes.
Now, you’re probably wondering… how do you paint the glass portion of a gumball machine?
I ended up using acrylic paints on both the base and glass of the gumball machine. I was a little worried about how well acrylics would work on the glass, but after a couple of coats, I think it turned out nicely. I just thinned out the paint with a 1:1 ratio of matte medium so the paint would spread more smoothly.
Once the acrylic paint was dry, I went in with Posca paint makers to outline the whole image and make it feel more illustrate-y and cartoon-like. It’s not a method I’ve done often, but I think it really gave the candy dispenser a fun look.
And thankfully, I had no problem putting the gumball machine back together again! I cannot wait for my next thrift store makeover!
Anyone else get a fun find while thrifting ? Tell me all about it!


Check out the bird neighborhood I built– complete with custom art – in hopes that one particular bird pays me a visit!!